
I’m getting down to the last few scraps of my Chestnut lumber and decided I’d like to finish off the pile by making a display case as the final project.
About five years ago I built the case below in a very rough fashion. I used only the table saw kerf as the groove for the glass and then put each side together picture frame style (45 degree joints) and glued on the top. Apparently I had a fascination with a new (at the time) pin gun as there were 100’s of nails throughout this thing.
Having a whiteboard in the garage is a great thing! The design process was probably the most difficult part; so many styles to choose from the types of joints, how the glass is held in place, how the top piece of glass is installed, etc.

Sadly I didn’t think to take too many pictures throughout construction but you can see below the point where everything came together for the first time. As far as the design goes, each side was made individually with a 3/16″ channel routed into the rear of each piece for the glass to fit into. The pieces are butt jointed with glue and flat-head screws for reenforcement (I would have preferred half-lap joints but I do not have the equipment currently to make that happen) The glass was then held in place by strips (I called “caps”) tacked into the rear side. All of the glass from the original display case was reused.

Below you can see the two cases side by side. What a difference a router and 5 years of experience can make. The chestnut was topped with one coat of golden oak stain and sprayed with two coats of semi-gloss poly.

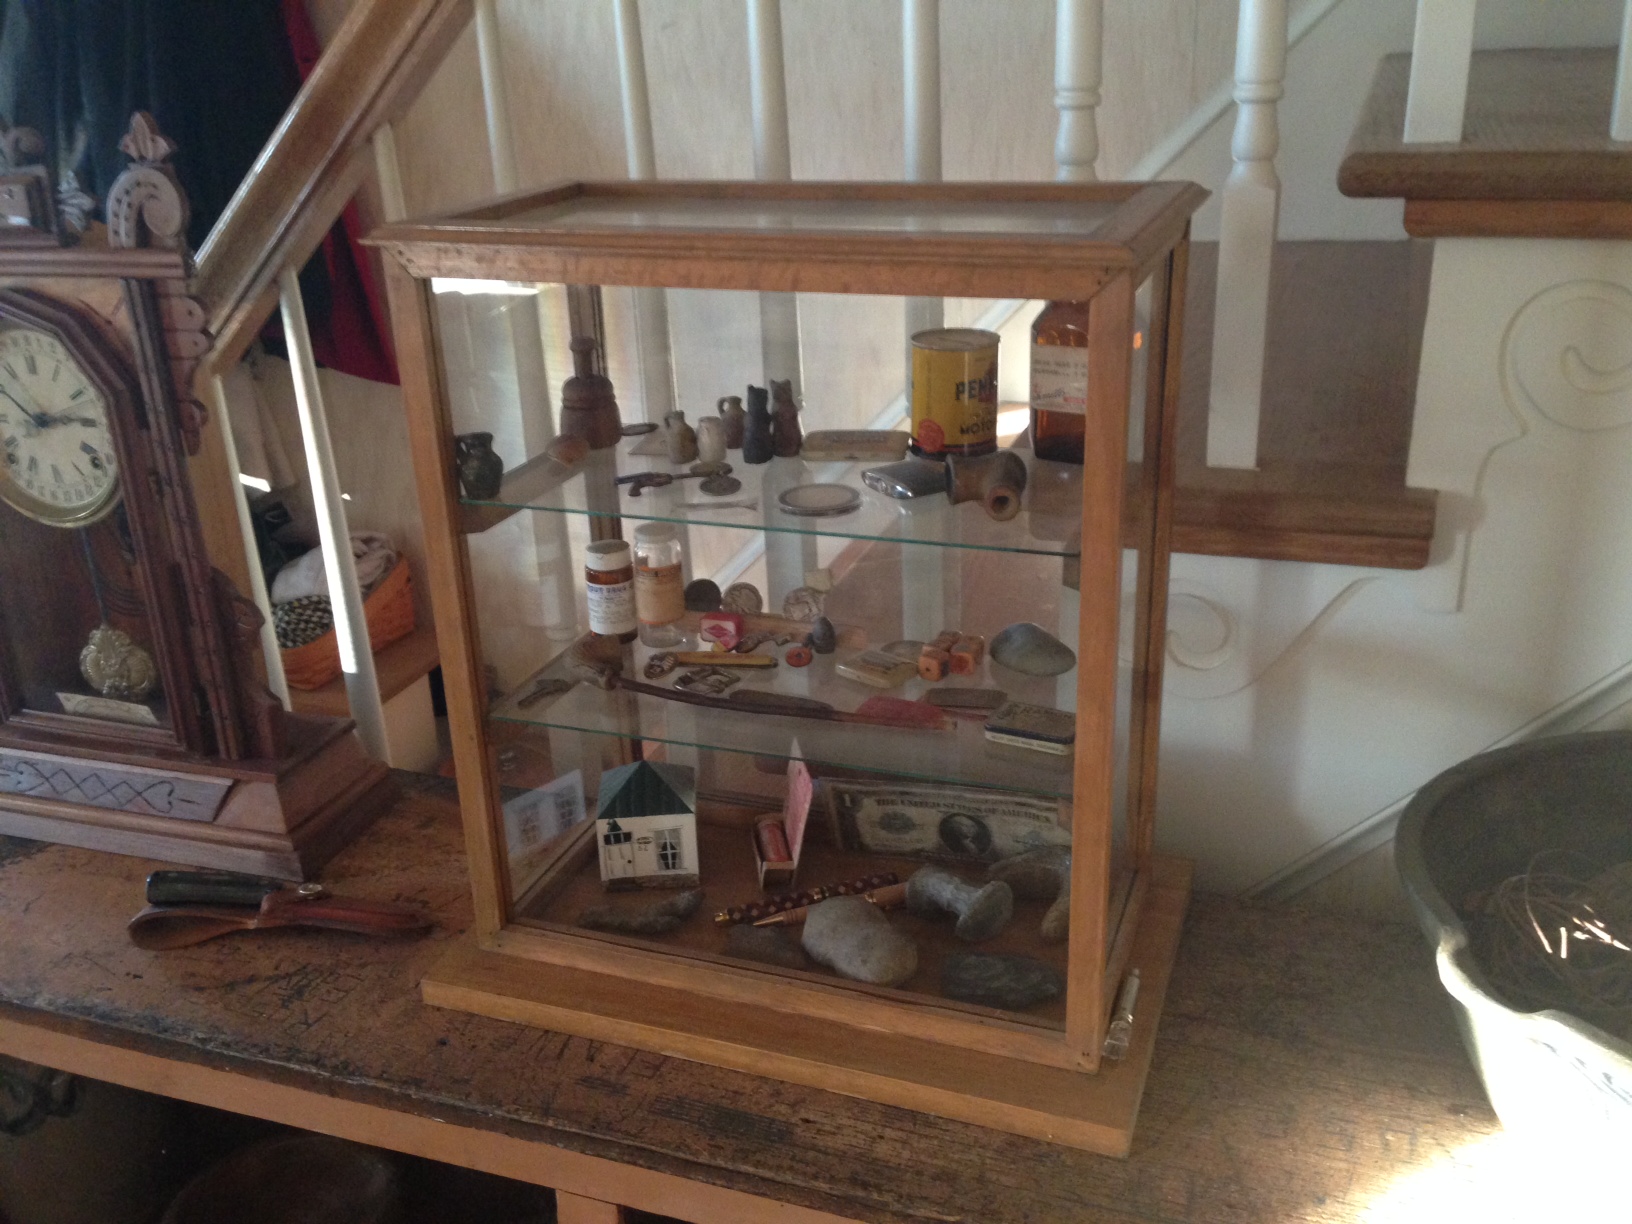
A final view of the case in it’s new setting. I’ve ordered a short LED light to be installed inside – Not sure how that will go.

